1. FAQ
1.1 What is this document?
This document is an instruction/guide for improving personal cybersecurity and improving the general cyber hygiene of employees.
1.2 What is required from you?
You are required NOT to simply read this document and / or put a signature in the “informed” section, but to carefully perform each of the points following the instructions from this document. The results of your actions in the form of screenshots must be uploaded to the form so that the admin can double check them.
1.3 Why do you need this?
This is necessary so that you are not hacked, not accused of leaking, losing or tipping off official documents. Moreover, this will significantly increase the level of your information security.
1.4 How do you have to work with Instruction?
- In order to confirm your action, you must upload a screenshot of the result.
- Register, who does not have mail on gmail.com. If you use it, you have to synchronize with it.
- For all questions that arise, write to me in telegram @combonik.
2. PC settings
Further configuration depends on the operating system of your device: if it is Windows, go to point 2.1; if you have a Mac OS, go to point 2.2.
2.1 PC settings on Windows
2.1.1 Encrypt PC with Bitlocker (for MAC: FileVault)
- Click Start> File Explorer> This computer.
- In the window, right-click on the drive which you want to encrypt, and select Enable BitLocker in the drop-down menu.
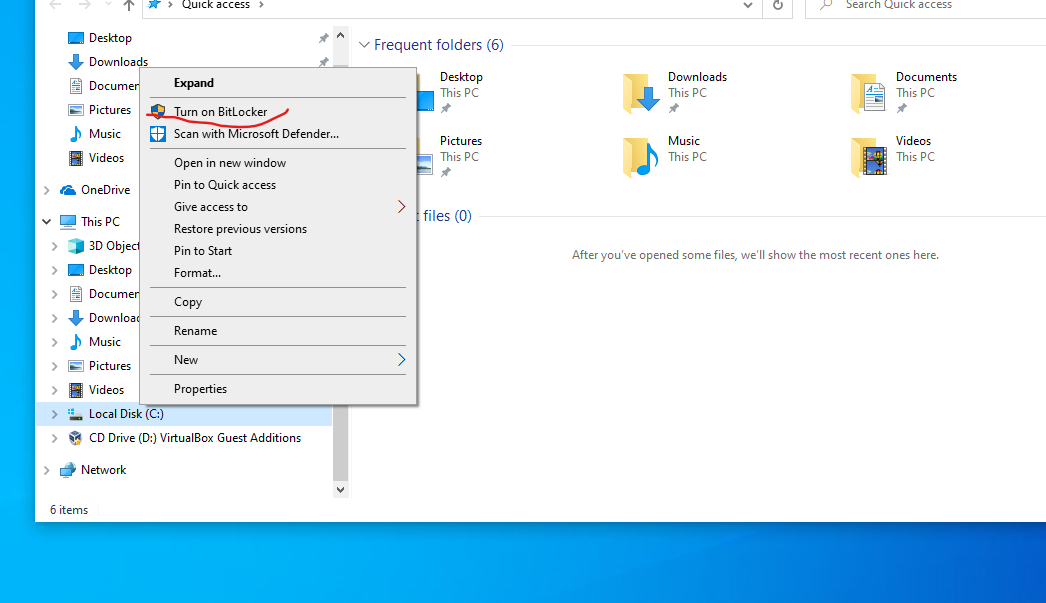
- Enable BitLocker.
- Enter a strong password for the hard drive. Each time you turn on the computer, Windows will ask for this password to decrypt the data.
- Choose how to backup the recovery key. It can be saved to your Microsoft account, copied to a USB drive, or printed.
- Choose which part of the disk to encrypt: all disk or only free space. If you recently installed Windows 10, select the second. If you enable encryption on an already used drive, it is better to encrypt the entire drive..
- Click Continue to start encryption.
- When the encryption is completed, restart the computer and enter the password.
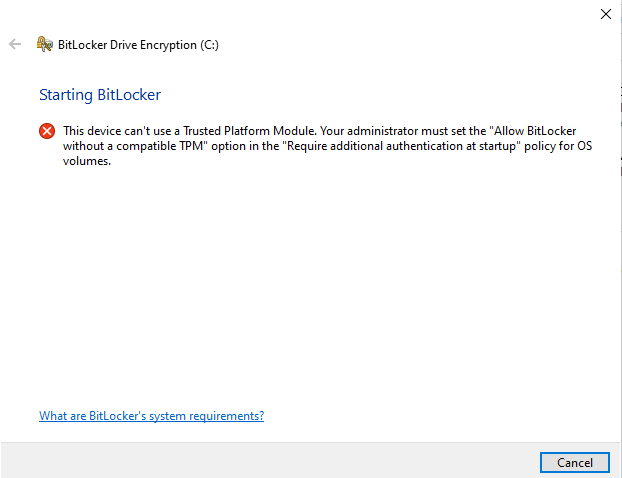
2.1.2 Allow BitLocker without compatible TPM in Windows 10 latest version
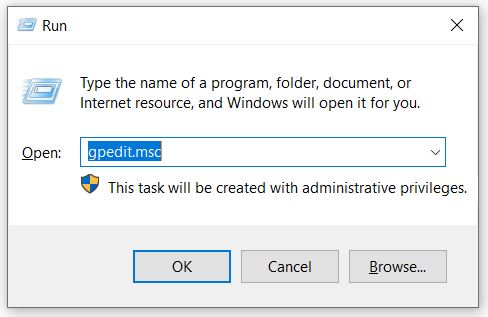
- Press the Win + R keys on the keyboard, type gpedit.msc and press Enter.
- The local group policy editor opens. Go to: Computer Configuration – Administrative Templates – Windows Components – BitLocker Drive Encryption – Operating System Drives.
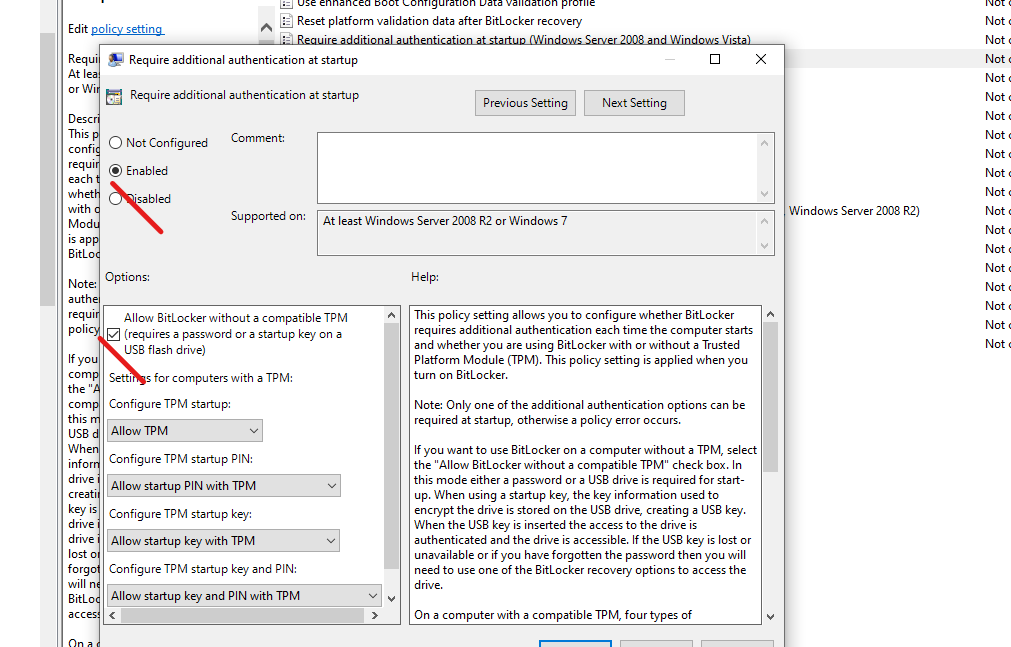
- In the right panel of the local group policy editor, find the option “This policy setting allows you to configure the additional authentication requirement at startup” and double-click on it. Please note that there are two parameters with this name in the list, we need the one not specifying Windows Server.


- In the window that opens, select “Enabled” and make sure that the item “Allow using BitLocker without compatible TPM” is enabled. Apply your settings.

2.1.3 Allow using BitLocker without compatible TPM in Windows 10
In order to be able to encrypt the system drive using BitLocker without TPM, it is enough to change one single setting in the Windows Local Group Policy Editor.
- Press the Win + R keys and enter gpedit.msc to start the local group policy editor.

- Open the section (folders on the left): Computer Configuration – Administrative Templates – Windows Components – This policy setting allows you to select BitLocker Drive Encryption – Operating System Drives.

- In the right part, double-click on the option “This policy setting allows you to configure the additional authentication requirement at startup”.
- In the window that opens, select “Enabled”, and also make sure that “Allow BitLocker without compatible Trusted Platform Module” is selected (screenshot below).

- After this, you can use disk encryption without error messages: just select the system disk in Windows Explorer, right-click on it and select “Enable BitLocker” in the context menu, then follow the instructions of the encryption wizard. You can also do this in “Control Panel” – “BitLocker Drive Encryption”.
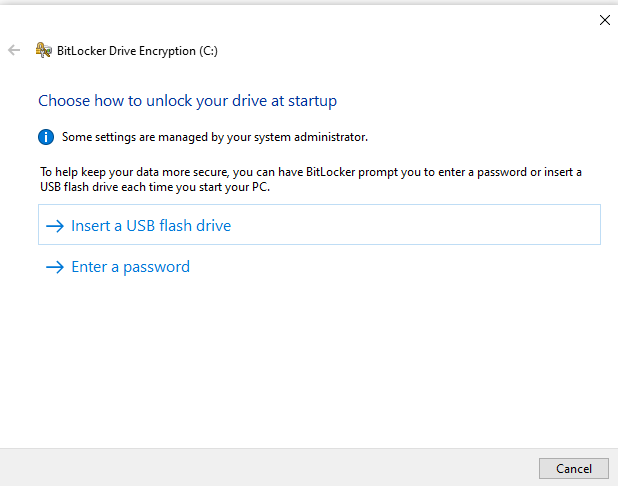
- You can either set a password to get access to the encrypted disk, or create a USB device (flash drive), which will be used as a key.

2.1.4 Enable Windows Defender
- Go to settings.
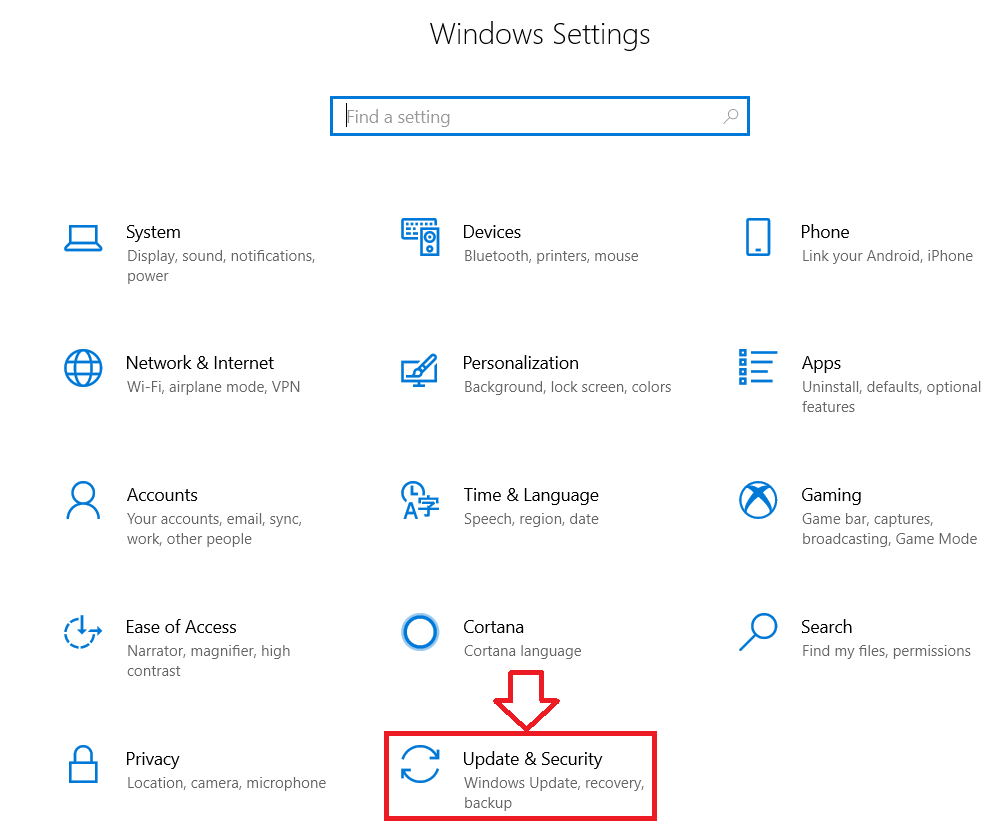

- Click on the tab “Update and Security”, and then everything as shown in the picture.

2.1.5 Enable Windows Defender
You can download the free antivirus Bitdefender Free Edition on its official page https://www.bitdefender.com/solutions/free.html.
After the antivirus has been installed, it runs in the background and checks all executable files, and at first also the data that is stored on your disks. You can open the antivirus window at any time using the shortcut on the desktop (or you can delete it from there), or using the Bitdefender icon in the notification area.
- After launching the installation file downloaded from the official website, click the Install button (you can also uncheck the collection of anonymous statistics on the left in the installation window).
- The installation process will take place in three stages: downloading and extracting the Bitdefender files, pre-scanning the system, and installing itself.
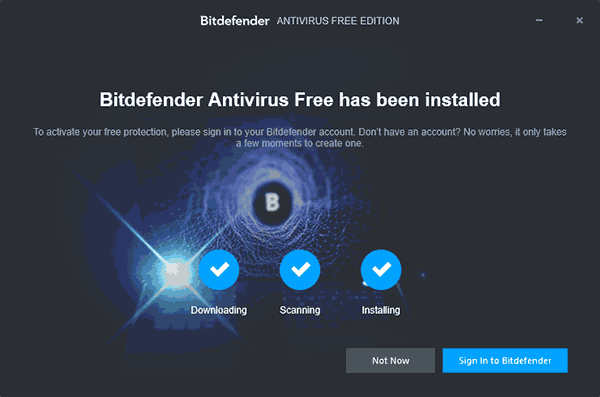

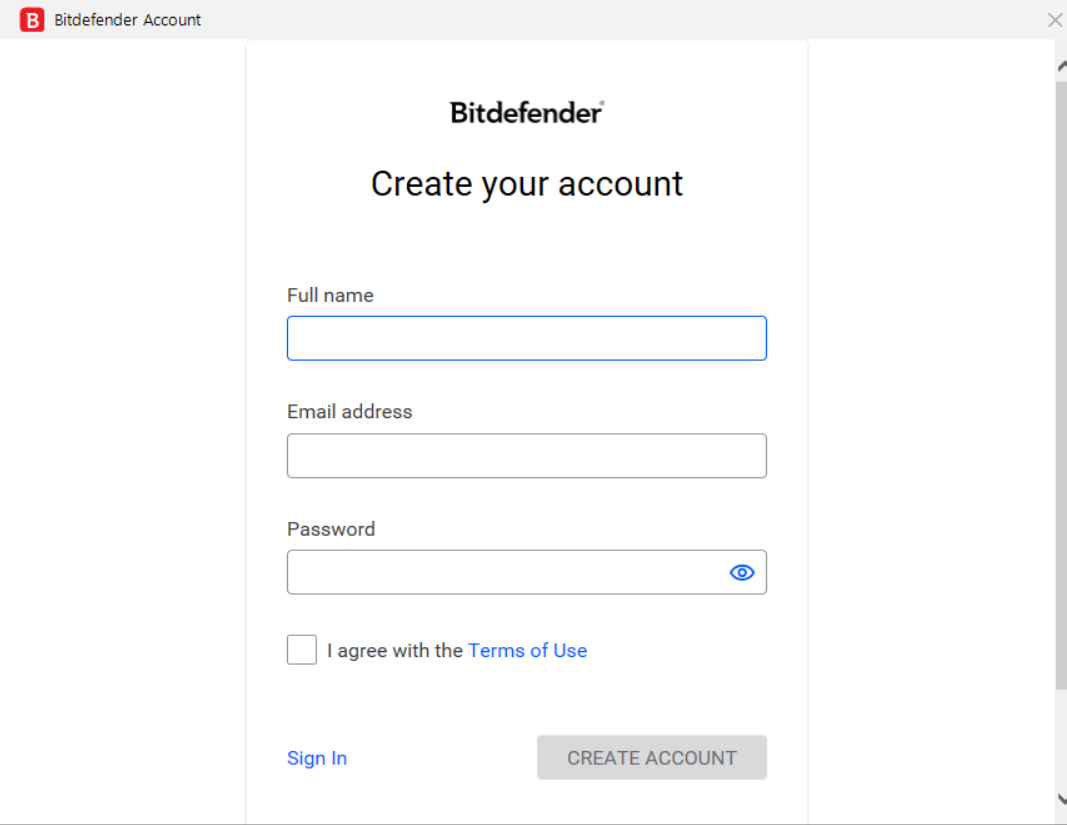
- Then click on the “Log in to Bitdefender” button (Log in to Bitdefender). If this is not done, then when you try to use the antivirus, you will still be asked to log in.
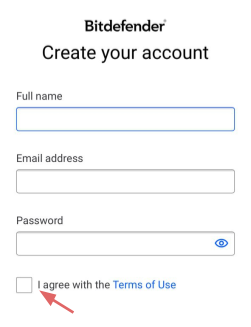
- You need a Bitdefender Central account to use the antivirus. It is assumed that you do not have one, so in the window that appears, enter your Name, Surname, email address and the desired password. To avoid mistakes, it is recommended to enter them in the Latin alphabet, and the password is rather complex. Click “Create Account”. Alternatively, if Bitdefender ever asks for login, use e-mail as login and your password.

- If everything was going well, the Bitdefender antivirus window will open, which we will look at later in the section on using the program.
- The email will be sent to the email address specified in step 2 to confirm your account. In the email you received, click “Verify Now”.
- After that, you will not see any new windows (the application will run in the background), but to complete the installation, you will need to restart your computer (it is a restart, not shutdown in Windows 10, this is important). When you reboot, you will have to wait a while until the system parameters are updated. After a restart, Bitdefender is installed and ready to use.


The Bitdefender Free window does not offer many functions: it only contains information about the current status of antivirus protection, access to settings, and the ability to check any file by dragging it onto the antivirus window (you can also check files via the context menu by right-clicking on the file and selecting “Scan with Bitdefender”). Settings Bitdefender:
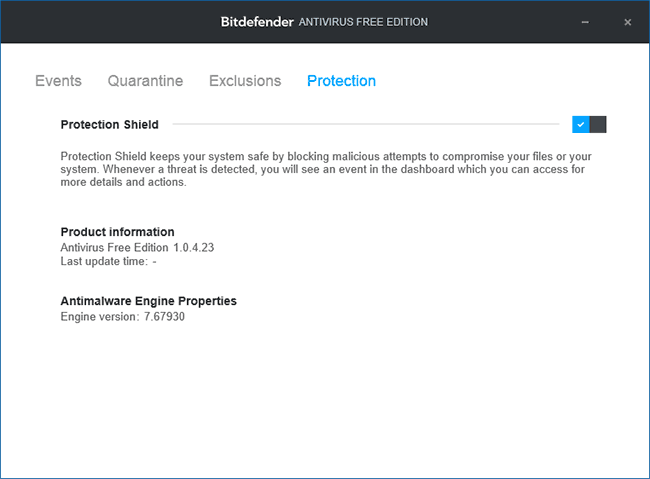
- Protection tab — to enable and disable anti-virus protection.
- Events — list of antivirus events (detections and actions taken).
- Quarantine — files in quarantine.
- Exclusions — to add antivirus exclusions.
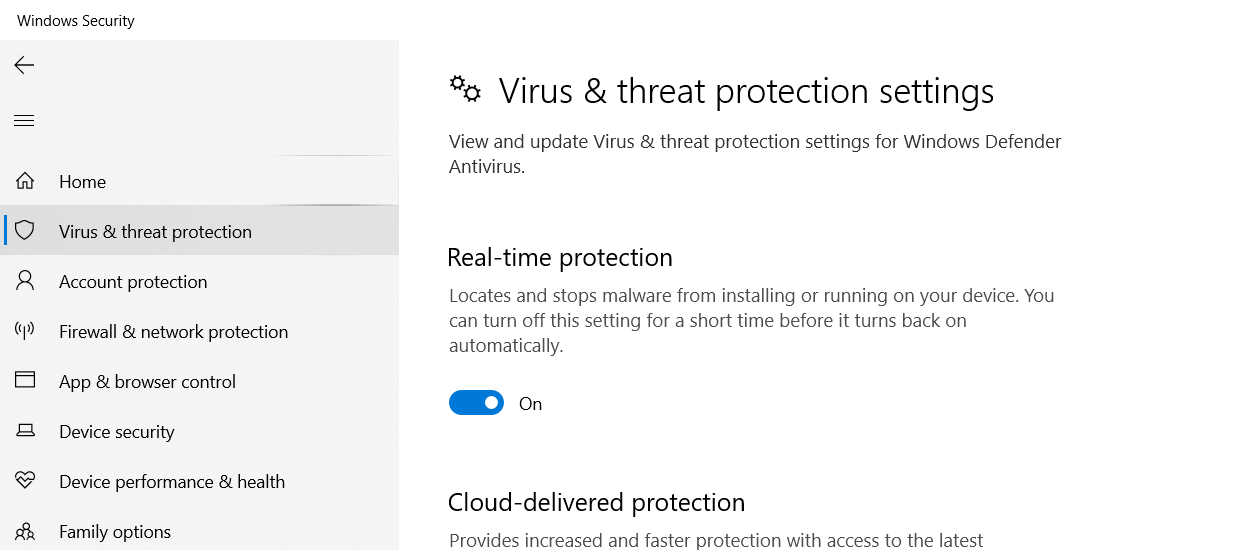
After installation, Bitdefender Free Edition disables Windows 10 Defender, however, if you go to Settings (Win + I keys) – Update & Security – Windows Defender – “Virus & threat protection” then scroll down and click “Windows Defender Antivirus” options you can enable “Limited periodic scan” there.
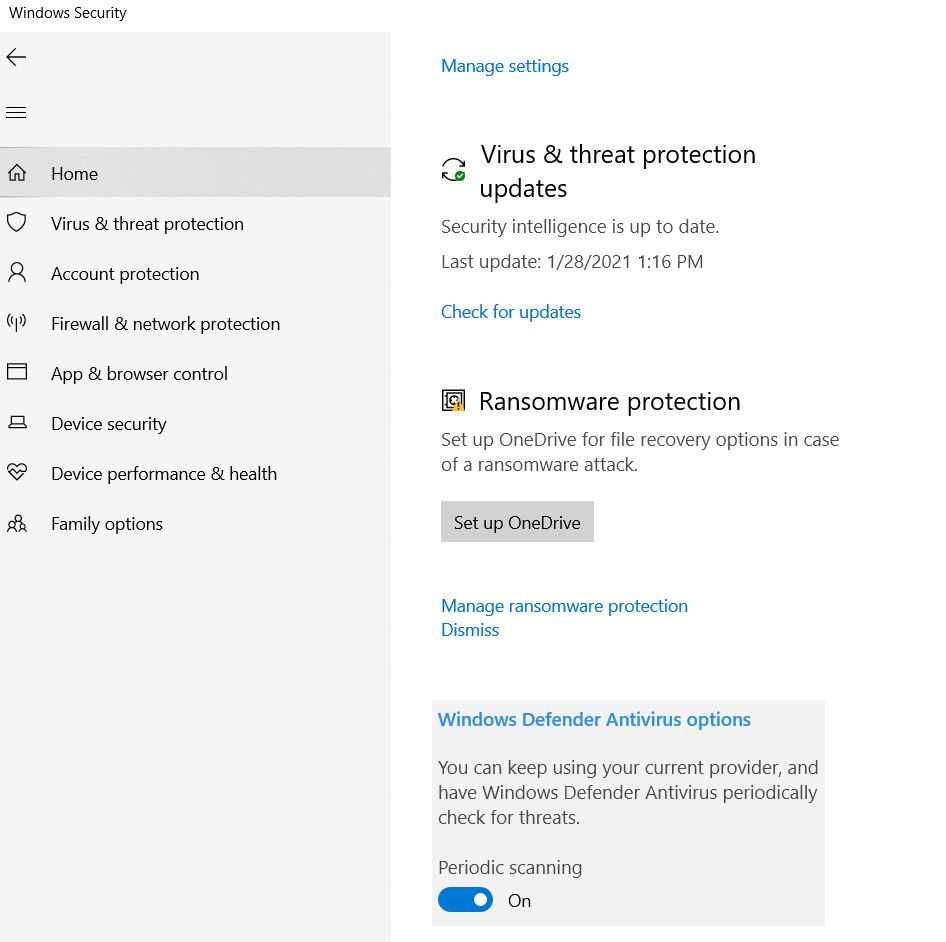
If enabled, Windows 10 servicing will automatically scan your system for viruses from time to time using Defender, or you will see a prompt to perform such a scan in system notifications.
2.1.6 Enable firewall
2.1.7 Reduce rights to the level of a normal use
The main way to create a new user in Windows 10 is to use the “Accounts” item available in “Start” – “Settings”.
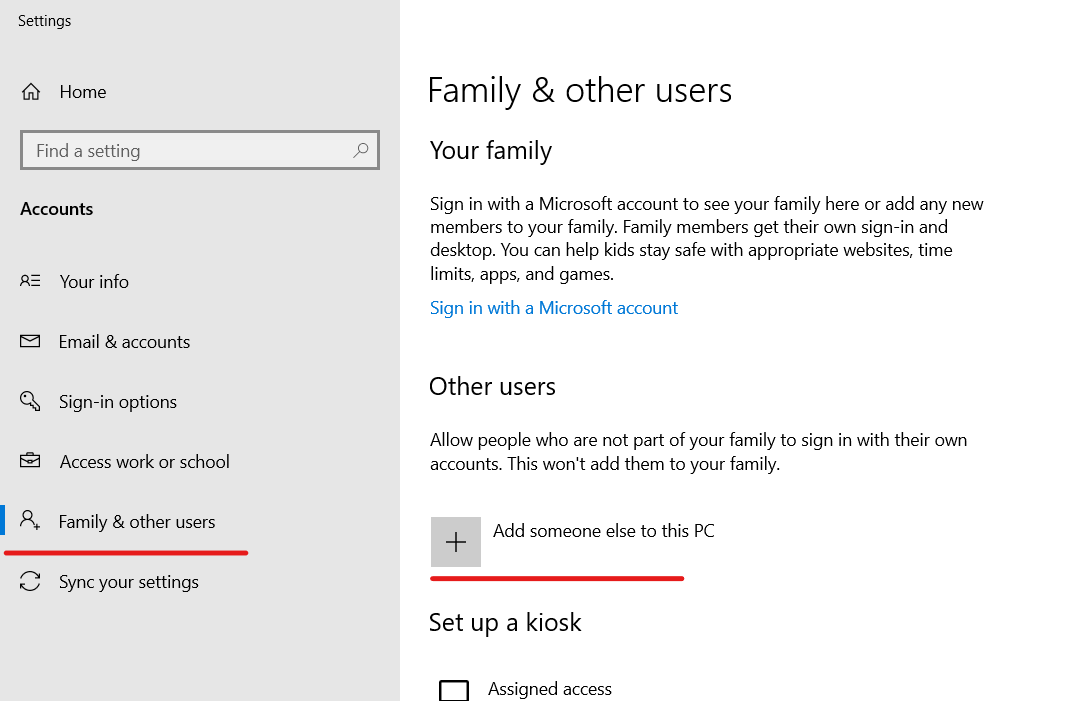
In the “Other Users” section, click Add User for This Computer. In the next window, you will be asked to provide an email address or phone number.
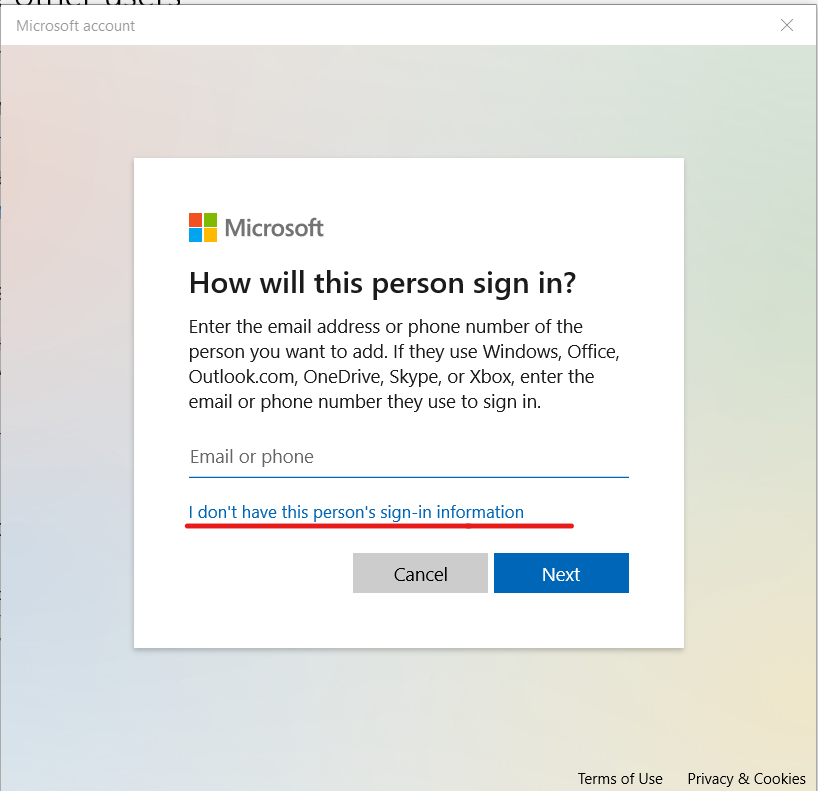
If you are going to create a local account (or even a Microsoft account, but have not yet registered an email address for it), click “I have no data for this person to log in” at the bottom of the window.
The next window will prompt you to create a Microsoft account. You can fill in all the fields for creating a user with such an account or click “Add a user without a Microsoft account” below.
Next, follow the instructions. We get to the assignment of user rights. By default, the new user has “normal user” rights
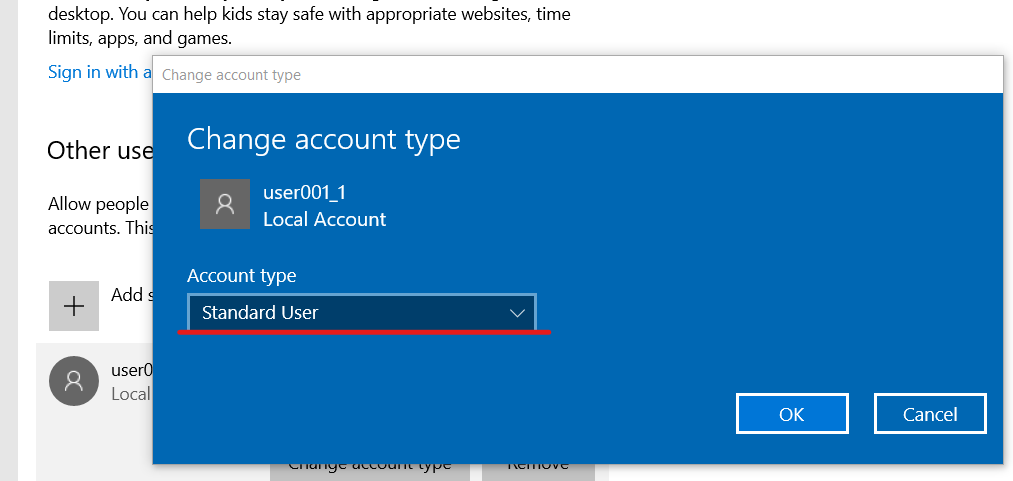
Further in the work, we use a normal user account, having configured it in advance.
2.1.8 Protect your account with the password
For high protection, you should use strong passwords (especially from the Admin account). Use capital letters as well as symbols to increase the complexity of the password.
2.1.9 Enable lock screen
- Enable lock screen
2.1.10 Configure VPN
- Configure VPN
2.1.11 Search in documents login / pass
- Search in documents login / pass
2.1.12 Close the webcam
Closing the camera or not is up to you. However, it’s no secret to anyone that there are Trojans and viruses that can completely control your camera, and you won’t even notice it. As a result, your personal life will not be so personal
2.2 PC settings on MAC
2.2.1 For MAC: FileVault
- Go to the Apple menu ()> “System Settings” and open the “Protection and Security” tab.
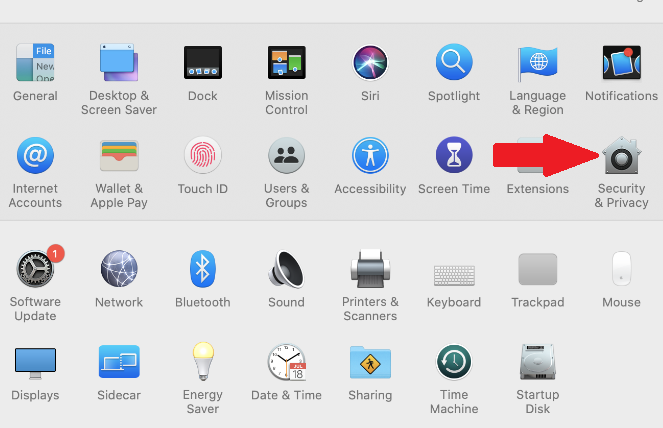

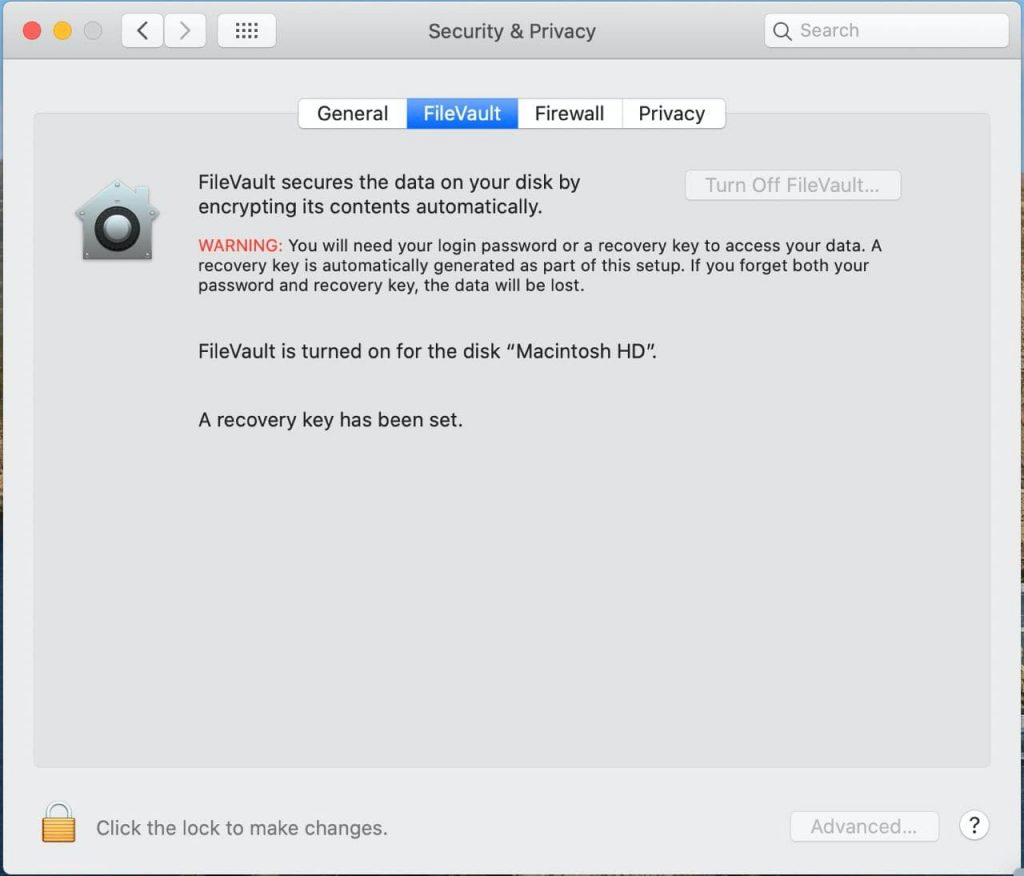
- Select the FileVault tab.
- Click

 , then enter the administrator name and password.
 - Click «Enable FileVault».
- Advanced settings.
2.2.2 Configuring antivirus for MAC
- Sign in to your Bitdefender Central account. If you don’t have an account already, please sign up for one. Prior to the installation of Bitdefender Antivirus for Mac, please make sure that you have a Bitdefender Antivirus for Mac subscription in your Central account so the product you install can retrieve its validity from your account. If you have an older license key for the previous Antivirus for Mac product, you can find how to transform it into a Bitdefender subscription, in this article.
- Select the My Devices panel.
- In the My Devices window, click INSTALL PROTECTION.
- In the newly opened window, click Protect this device, then select device owner. If you want to Protect other devices, select this option (this will send an email with the installation kit to an email address of your choice).
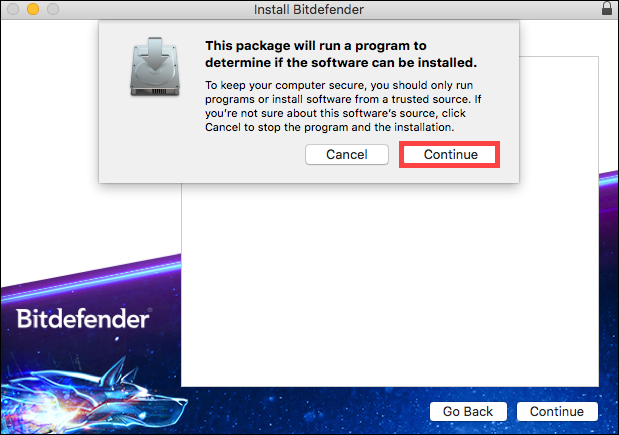
- The installer will be downloaded on your system inside the Downloads folder. Double click on the Bitdefender file with the .pkg extension and follow the on-screen instructions. Click on Continue.

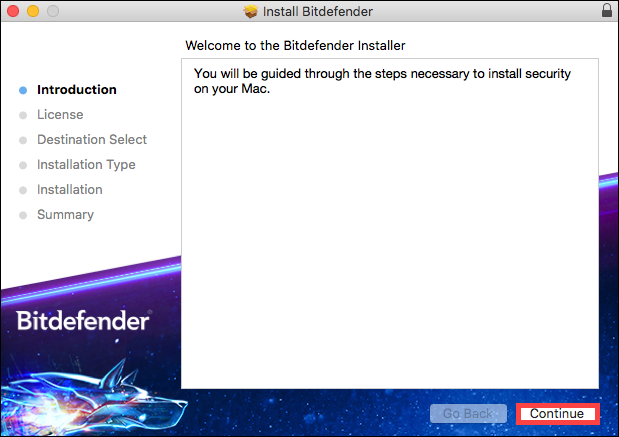
- Next, you will be guided through the steps necessary to install the security on your Mac. Click on Continue.

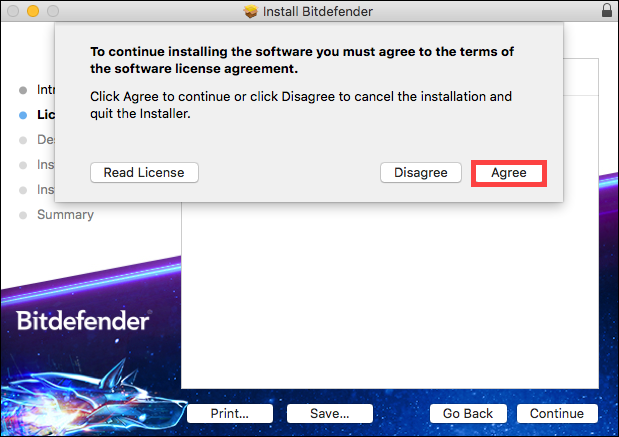
- In order to continue the installation, you will have to agree to the terms of the software Subscription Agreement.
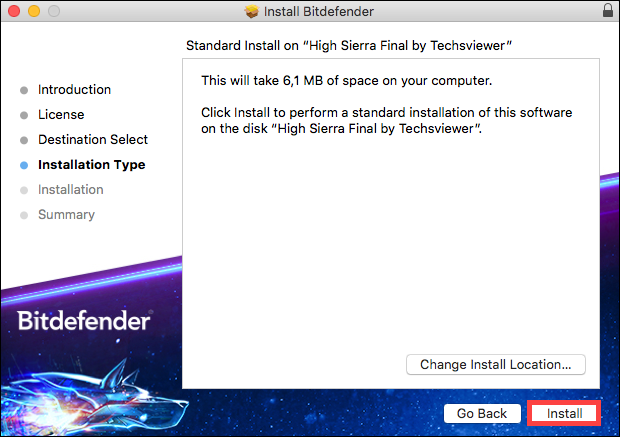
- Select the disk where you want to install the Bitdefender software, then click on Continue. After that, select Install.

- When prompted, type your username and password, then click Install Software.
- A small window will appear and Bitdefender Antivirus for Mac will automatically download and install on your Mac.
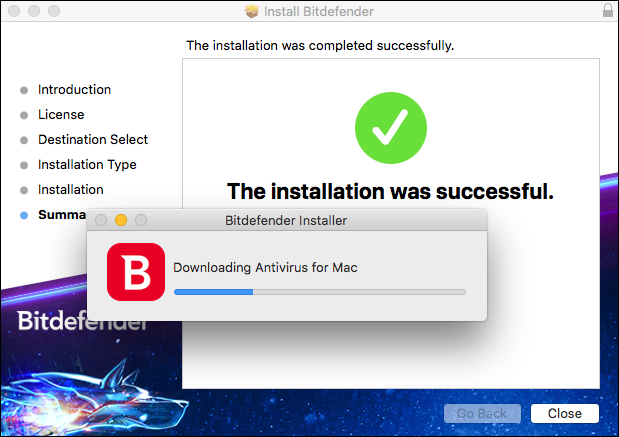
- The installation is now complete on macOS Yosemite, El Capitan and Sierra. Click the corresponding link below only if you have High Sierra, Mojave or Catalina. The rest of the macOS versions do not require these extra steps.
3. Setting up 1Password Password Manager
Register in 1Password and configure the extension for the Google Chrome browser https://1password.com/ .
- Go to the Google Chrome Web Store.
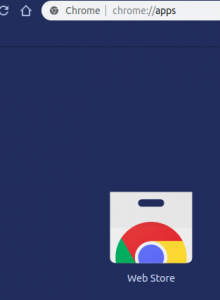

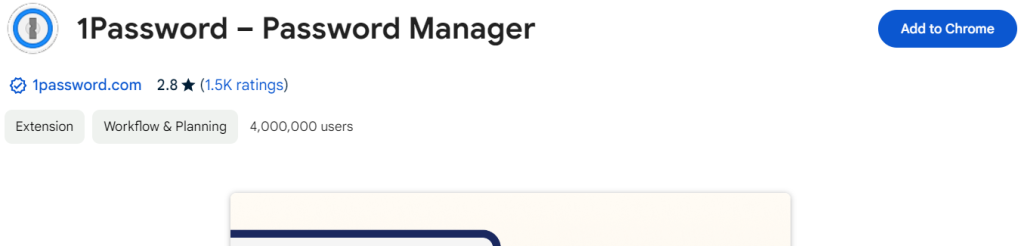
- Find 1Password for Google Chrome.
- Click Add to Chrome.

- Confirm installation.
- After installation, go to 1Password to create an account.
- Log in to your account.
- Now, upon entering any site, 1Password will offer to save login details. Success!
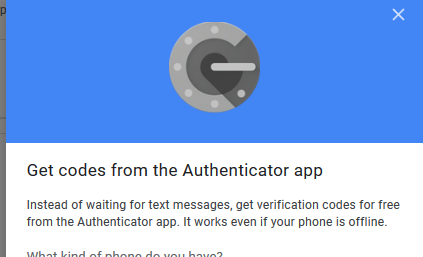
4. Setting up Google authenticator on smartphone
4.1. Android
How to download:
- open https://play.google.com/store (Play Market);
- find google authenticator.
Setting:
- on your Android phone or tablet, open the “Settings”

 > Google > Google Account;
 - at the top of the screen, press Security;
- in the “Sign into your Google Account” section, select 2-step verification. If necessary, log in again;
- in the “Configure the second step” section, find the “Authenticator application” parameter and click “Create”;
- then follow the on-screen instructions;
- to make sure that everything is OK, request the application code and enter it in the settings.;
- if the code is correct, you will see a confirmation.;
4.2. iOS
How to download:
- open App Store;
- find google authenticator.
Setting:
- open the Gmail application on your iPhone or iPad. Press the “Menu” icon > Settings > select your account > Google Account managing.
If you don’t use Gmail, go to myaccount.google.com; - at the top of the screen, click Security;
- in the “Sign into your Google Account” section, select 2-step verification;
- in the “Configure the second step” section, find the “Authenticator application” option and click Create;
- follow the instructions on the screen;
- to make sure that everything is OK, request the application code and enter it in the settings;
- if the code is correct, you will see a confirmation.
You can also read the instructions from Google.
5. Setting up two-step verification in your Google account
- Go to the “Security” tab in your Google account.
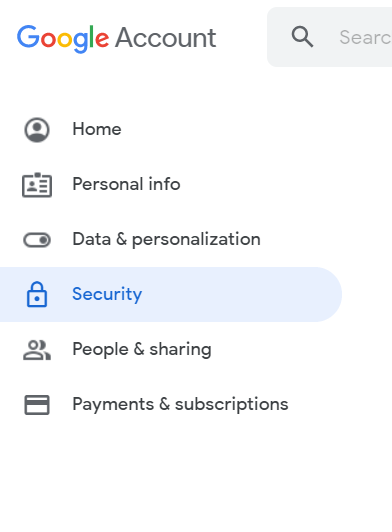

- On the left of the navigation panel, select security.
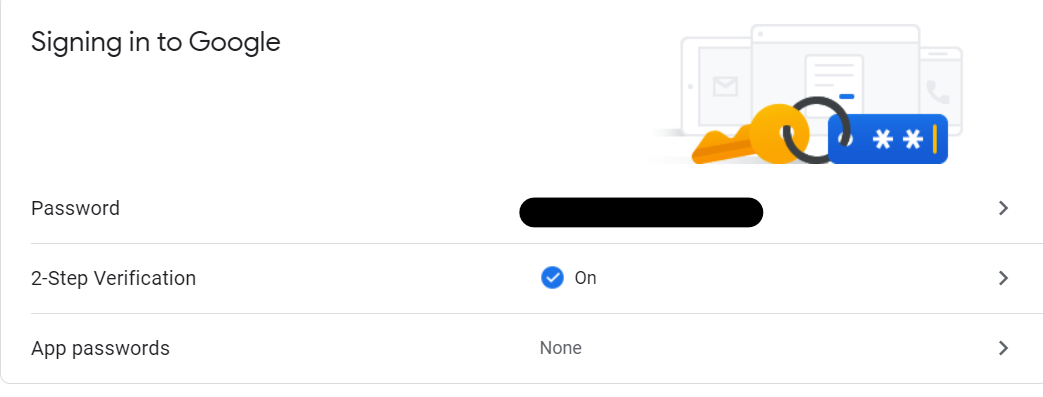

- Two-step verification clicks on the arrow (you can choose to log in using your phone. In any case, your mobile device must have a strong password or a graphic key).
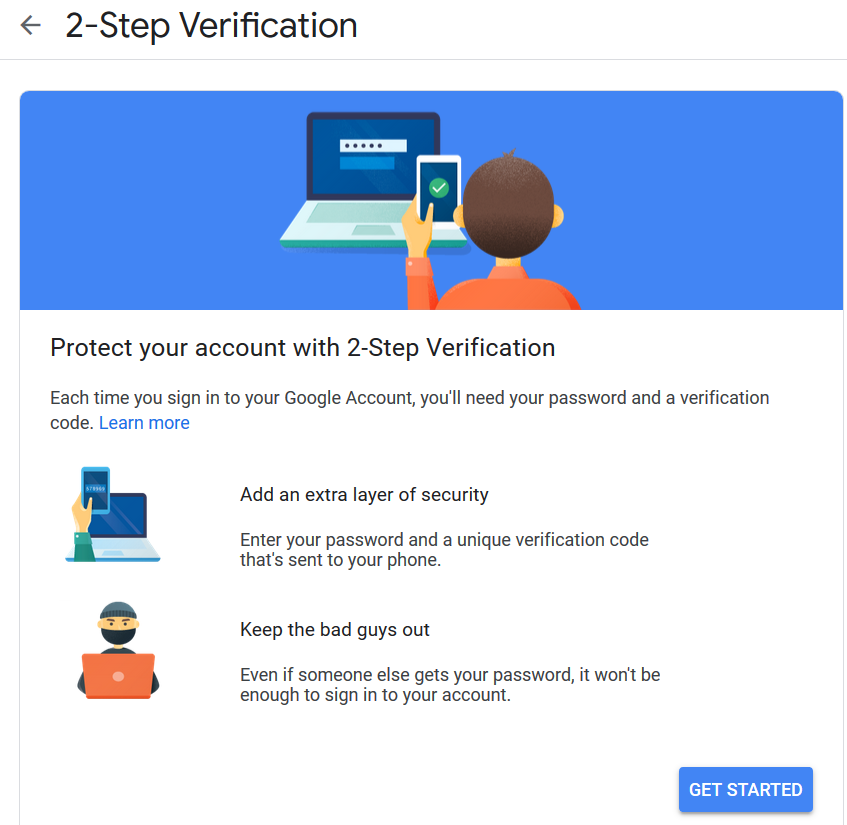


- Complete all steps.

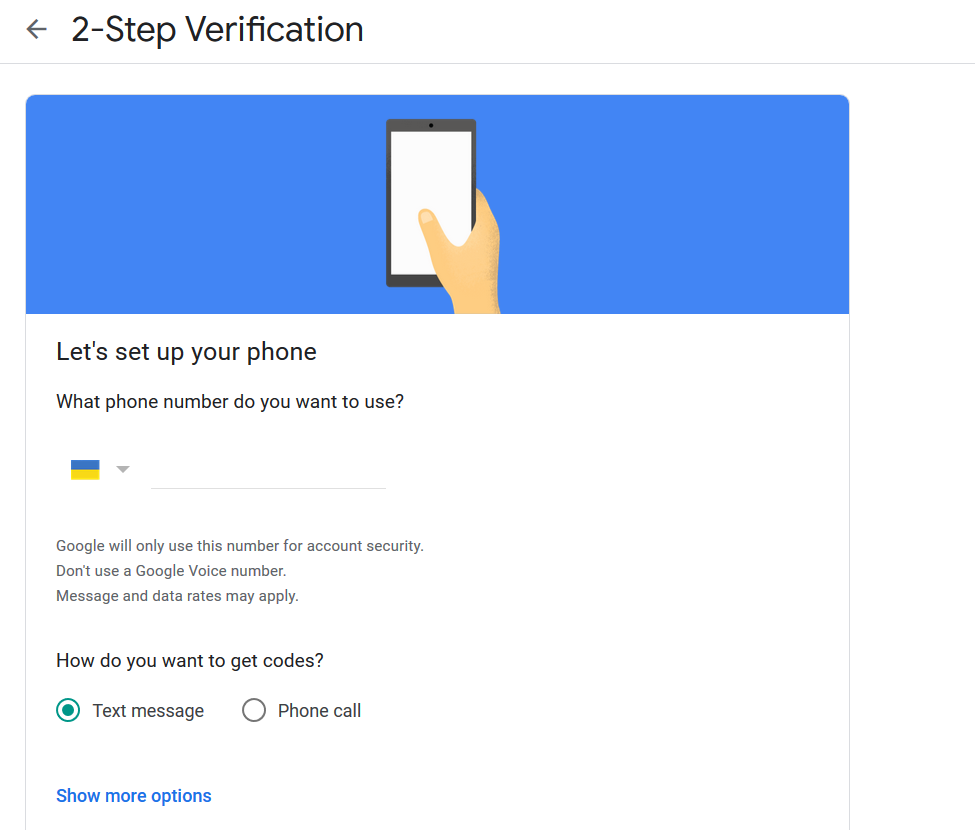
- Confirm phone number.
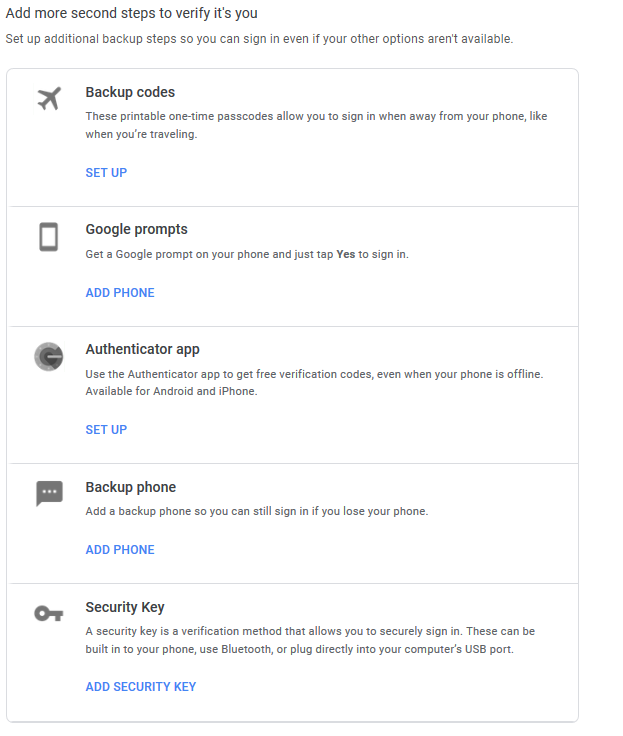

- Pay attention to paragraphs 2 and 3, namely Google Notification, and Authenticator.
- Follow the instructions! Be sure to lock the Screen!


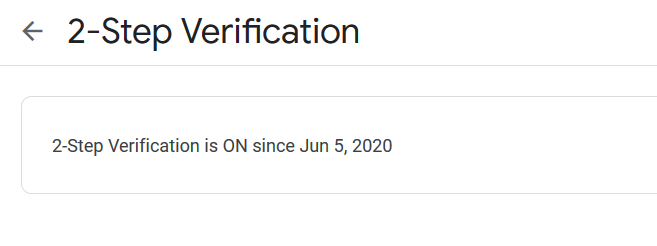
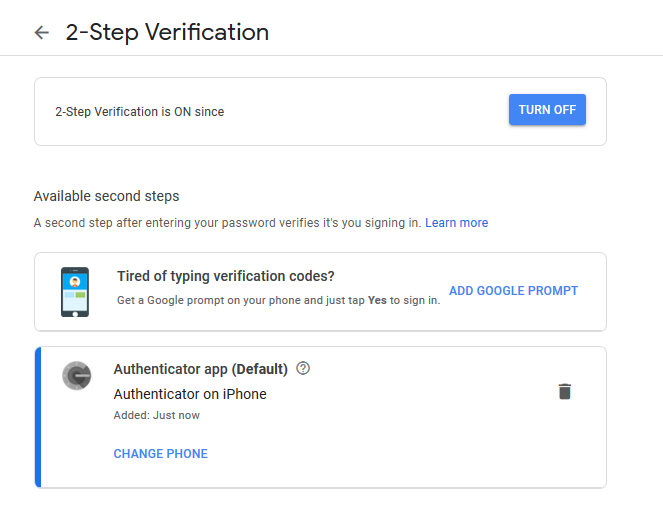
- Point 3 google Authenticator.

The result of the actions taken is shown in the figure below.

From google: How to enable 2-step verification
- Unlink a phone number from a Google account
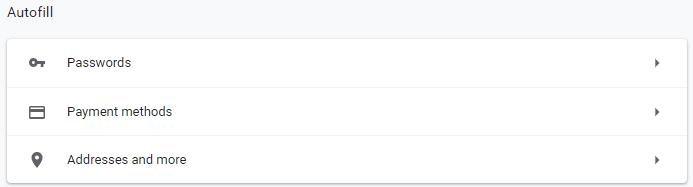
6. Setting up Google Chrome browser
- Go to browser settings.

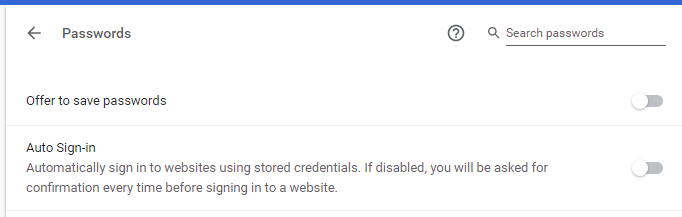
- Go to the “passwords” tab.

- Turn off “Offer passwords saving”.
- Turn off “Auto Sign-in”.

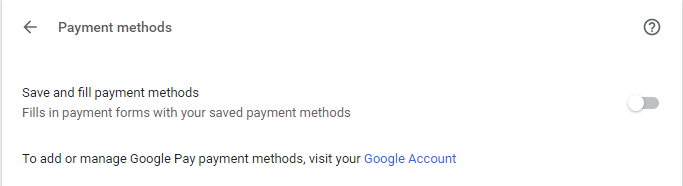
- Go to the tab “payment methods”, disable.

- Go to the tab “Addresses and more”, disable autosave.
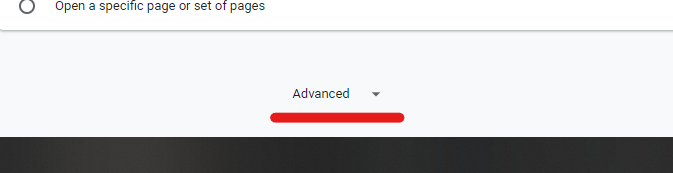
- Go to advanced settings.


- Saved payment methods – disable verification.
- Go to site settings.


- Prohibition of tracking.
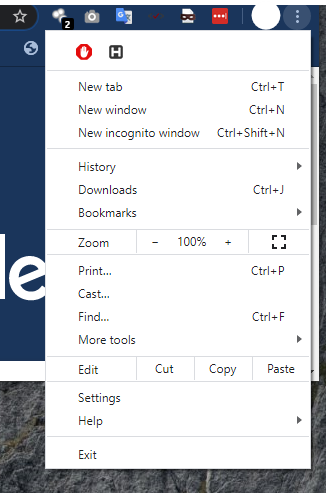
- Open the Chrome browser on the computer.
- In the upper right corner of the window, click on the icon with three dots
 > Settings.
 - In the “Privacy and Security” section, turn on Send ban on tracking for outgoing traffic.
7. Setting up social network accounts
Just click on the social network that you need to proceed with setting up two-factor authentication.
- Instructions for Google (Gmail)
- Instructions for Apple
- Instructions for Microsoft
- Instructions for Facebook
- Instructions for Twitter
- Instructions for Instagram
- Instructions for Dropbox
- Instructions for Telegram
- Instructions for Linkedin
Instructions for WhatsApp
8. Smartphone Settings
8.1. Smartphone Settings
8.1.1. Android
- Open your phone’s settings.
- Select Security.
a) If this item is not available, click Protection and location > Security. - Select Screen Lock.
a) If it is already configured, enter PIN, password or pattern to change. - Select a screen lock method. Then follow the on-screen instructions.
Press on the settings icon next to “Screen Lock”. You can set the time for automatic locking, configure the device so that the lock is turned on when you press the power button, and also add a message that will appear on the locked screen.
8.1.2. iOS
- Go to “Settings”> Touch ID and password code.


- Turn on the password code.
8.2. Hide messenger and system notifications (on lock screen)
8.2.1. Android
- Open your phone settings.
- Select “Lock Screen”.
- Go to “Notifications” and tap turn off.
For smartphones with Android 9 and below, look for these options in the “Apps & notifications” or “Notifications” section.
8.2.2. iOS
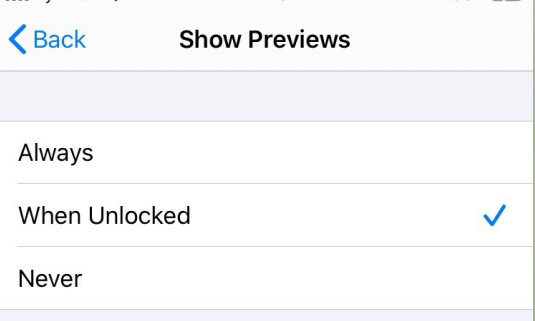
- Go to “Settings”> Notifications.

- Go to “Icon display” and select “Without blocking”.

8.3. Configure Antivirus
8.3.1. Android
- On your mobile device, go to Bitdefender Central.
- Sign in to your Central account.
- Tap the icon

 in the upper-left corner of the screen, then select My Devices.
 - In the My Devices window, tap on INSTALL PROTECTION.
- Tap on Protect this device.
- You should now be redirected to the Google Play Store app. If the Play Store app does not start automatically, select it from the list of suggested apps.
- Tap on INSTALL.

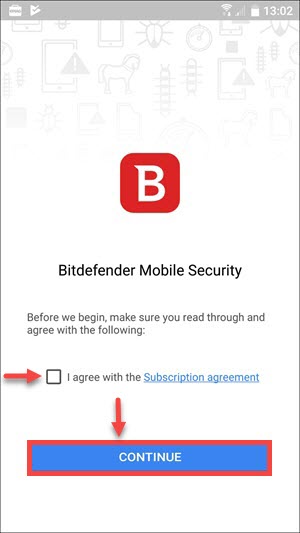
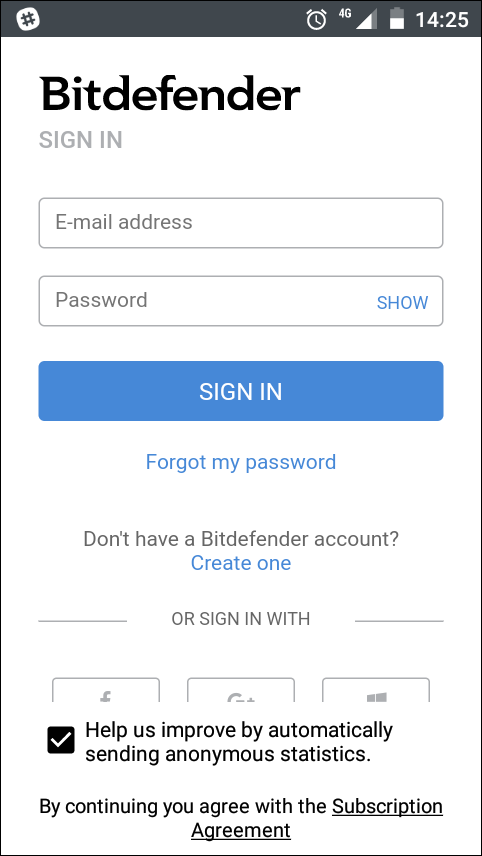
- After the installation is finished, open the app, check the box next to “I agree with the Subscription agreement” and click on CONTINUE.

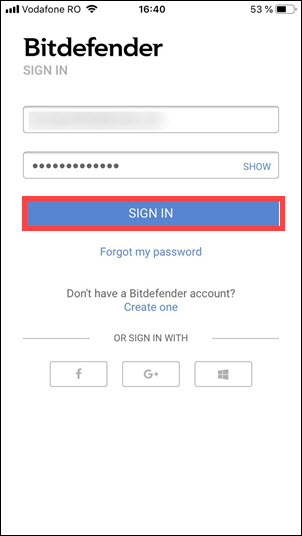
- Next, if you’re not automatically logged in to your Central account, type your username and password, then tap on SIGN IN.

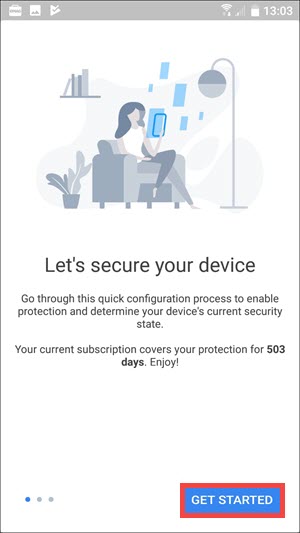
- Click on GET STARTED.
- You can now activate the Web Protection feature. Click on ACTIVATE and allow the Accessibility permission for Bitdefender Mobile Security. If you want to grant the Accessibility permission later, click NOT NOW.


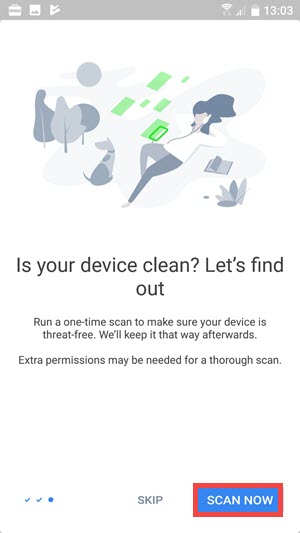
- Next, you have the possibility to perform a full scan of your device by clicking on SCAN NOW. Otherwise, you can click on SKIP and perform the scan at another time.
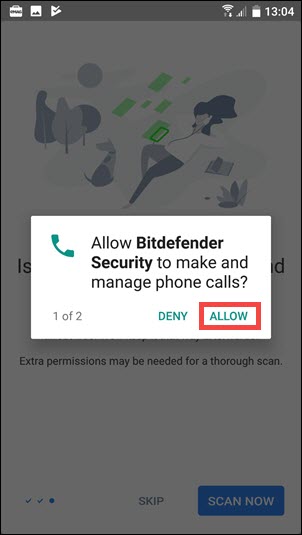
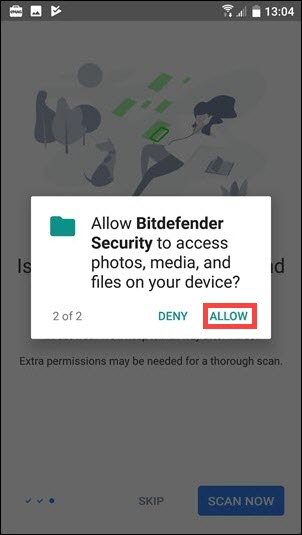
In order to scan the entire storage, Bitdefender Mobile Security will require two separate permissions: to make and manage phone calls and to access photos, media and files on your device.
8.3.2. iOS
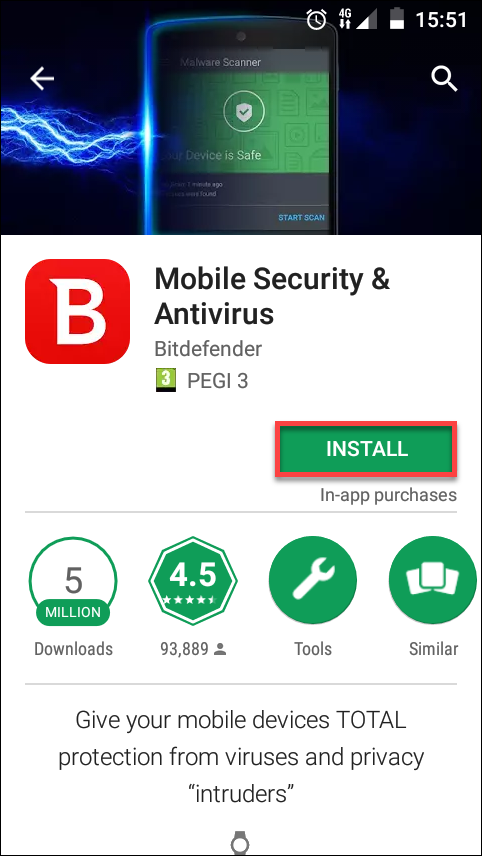
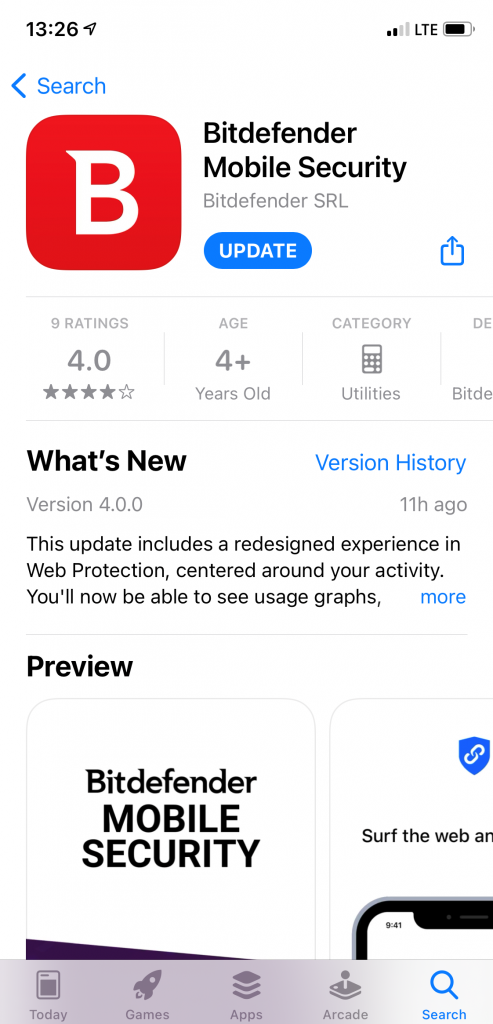
- Search for Bitdefender Mobile Security on the App Store, locate the app, then download it to your device.

- Open the app, check the box “I agree with the Subscription Agreement” and select Continue.

- Now, you’ll have to log in to your Central account. Type your username and password, then tap SIGN IN.

- Tap Get started.
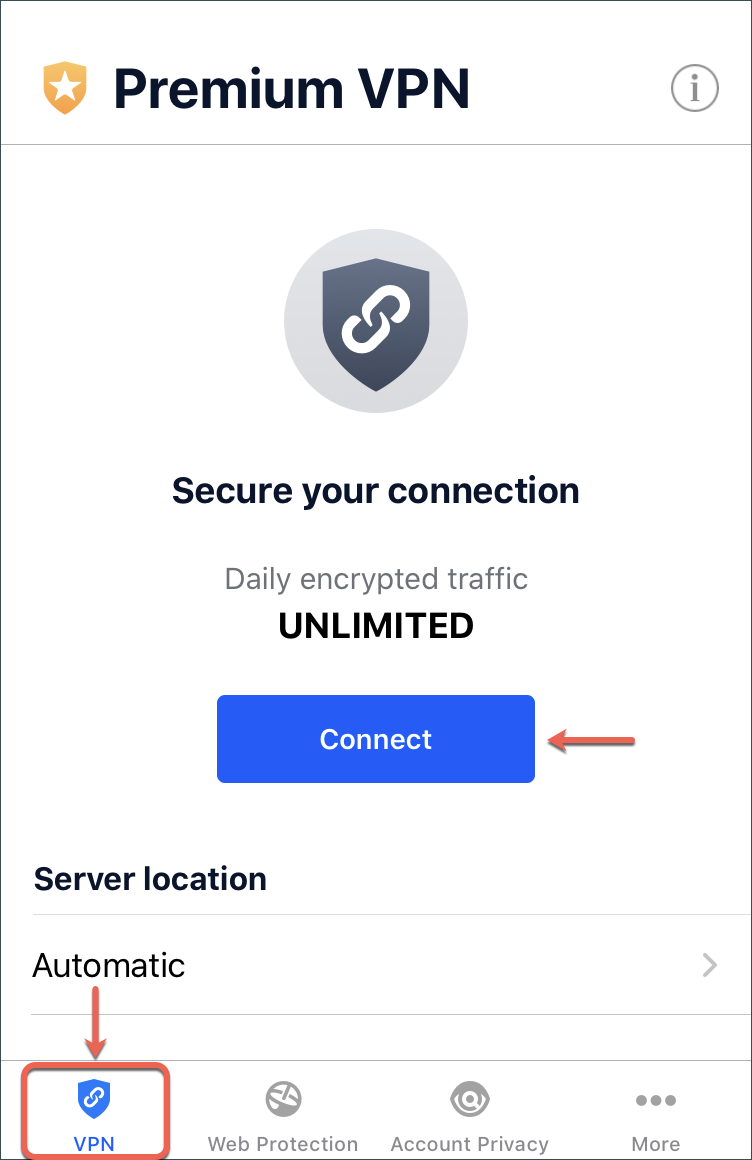
- To properly finish the installation, you will need to configure the Web Protection and VPN features. In the VPN module, tap Connect.

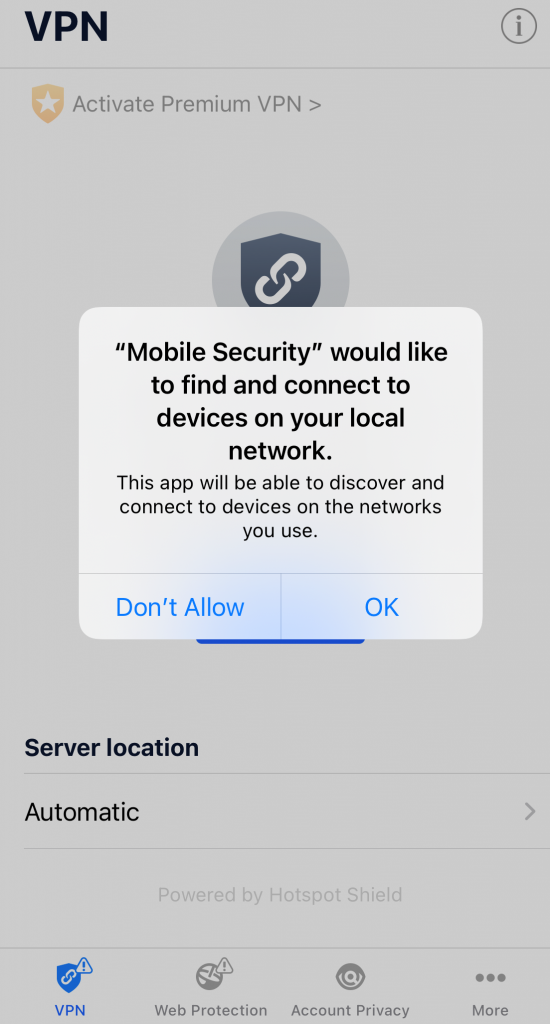
- You will be notified that Mobile Security wants to Add VPN Configurations. Tap OK.

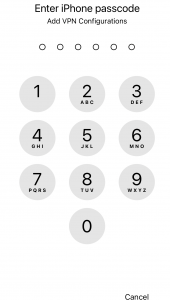
- You will need to confirm by using Touch ID or the password to your phone. In the picture below, we used Touch ID.

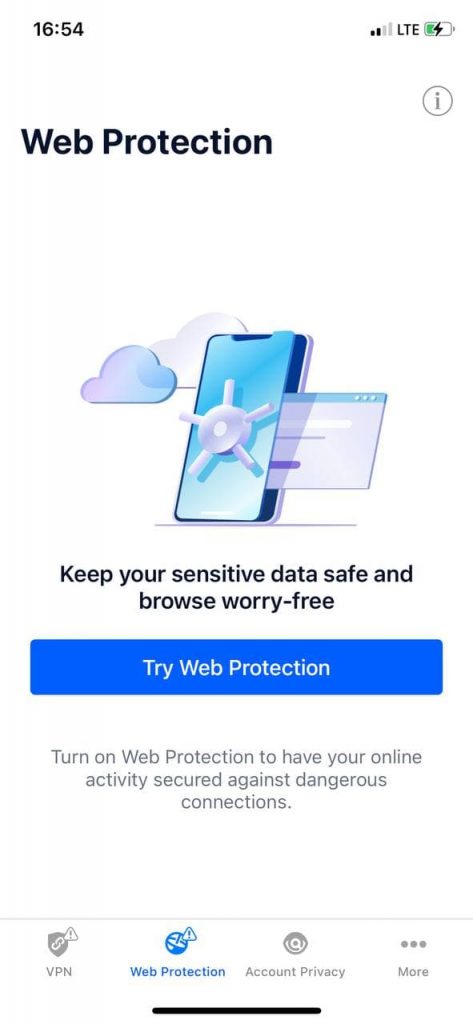
- To activate Web Protection tap the Web Protection icon from the bottom of the screen.
- Tap TRY WEB PROTECTION.
- Choose one of the free trial periods, and then confirm the payment details.
- Tap Turn On to enable Web Protection.

- Tap I Agree, then Allow to continue installing the web scan filter.
- If an authentication method (fingerprint or PIN code) has been set to protect your smartphone, you are required to use it. After a short wait, Web Protection will be enabled.
8.4. Disable installation of third-party applications
8.4.1. Android
- Select Settings in the settings bar of the Home screen.
- In the line of Personal Information, select Security and Restrictions.
- Select Unknown Sources.
- Select On / Off to enable/disable the installation of applications from unknown sources.
8.4.2. iOS
- Select Settings in the settings bar of the Home screen.
- In the line of Personal Information, select Security and Restrictions.
- Select Unknown Sources.
- Select On / Off to enable/disable the installation of applications from unknown sources.
8.5. Encrypt device
8.5.1. Android
- Device encryption may take an hour or more.
- The battery must be at least 80% charged.
- The device must be plugged in the electrical supply network during encryption.
- If the device is running under root user, temporarily disable superuser rights.
- If you interrupt the encryption process or somehow interfere with it, you are likely to lose data. So once encryption has started, leave your device and don’t use it
- Go to Settings.
- Click on Security. If your phone is encrypted, you will see the Encrypted option. If not, start encryption by clicking on the Encrypt phone option.
- On the next screen you will see a warning about what to expect after the encryption is over. If you are ready, click the Encrypt phone button.
- Again, you will see a warning that you should not interrupt the process. Press the Encrypt phone button again.
- Your phone will reboot and begin encryption. You will see a progress bar and an encrypted end time.
- Once the encryption is complete, the phone will reboot again. To verify that encryption is enabled, go to Settings> Security. You will see a confirmation Encrypted under the option Encrypt phone.
For encrypting a memory card – you have to go to Settings, select Security> Encrypt external SSD card and click Enable
8.5.2. iOS
You just need to set a passcode to encrypt data on smartphones with iOS.
